Even the Walls are in Bloom
Last year, Jared and I embarked on a creative project while making a wooden sign for Mystic Wildwood’s hidden driveway. The cabin is quite remote and on a private road, but we needed a way to identify the address, so we leaned into this idea. We wanted to do something beyond the ordinary, so Jared came up with the idea to use fun shapes based on natural forms as a backdrop for the numbers. The first shape he created was a maple leaf, which he made by projecting its image onto plywood, tracing the image, and cutting it out. The result was truly satisfying, and it motivated us to continue with this idea and expand it to garden art.

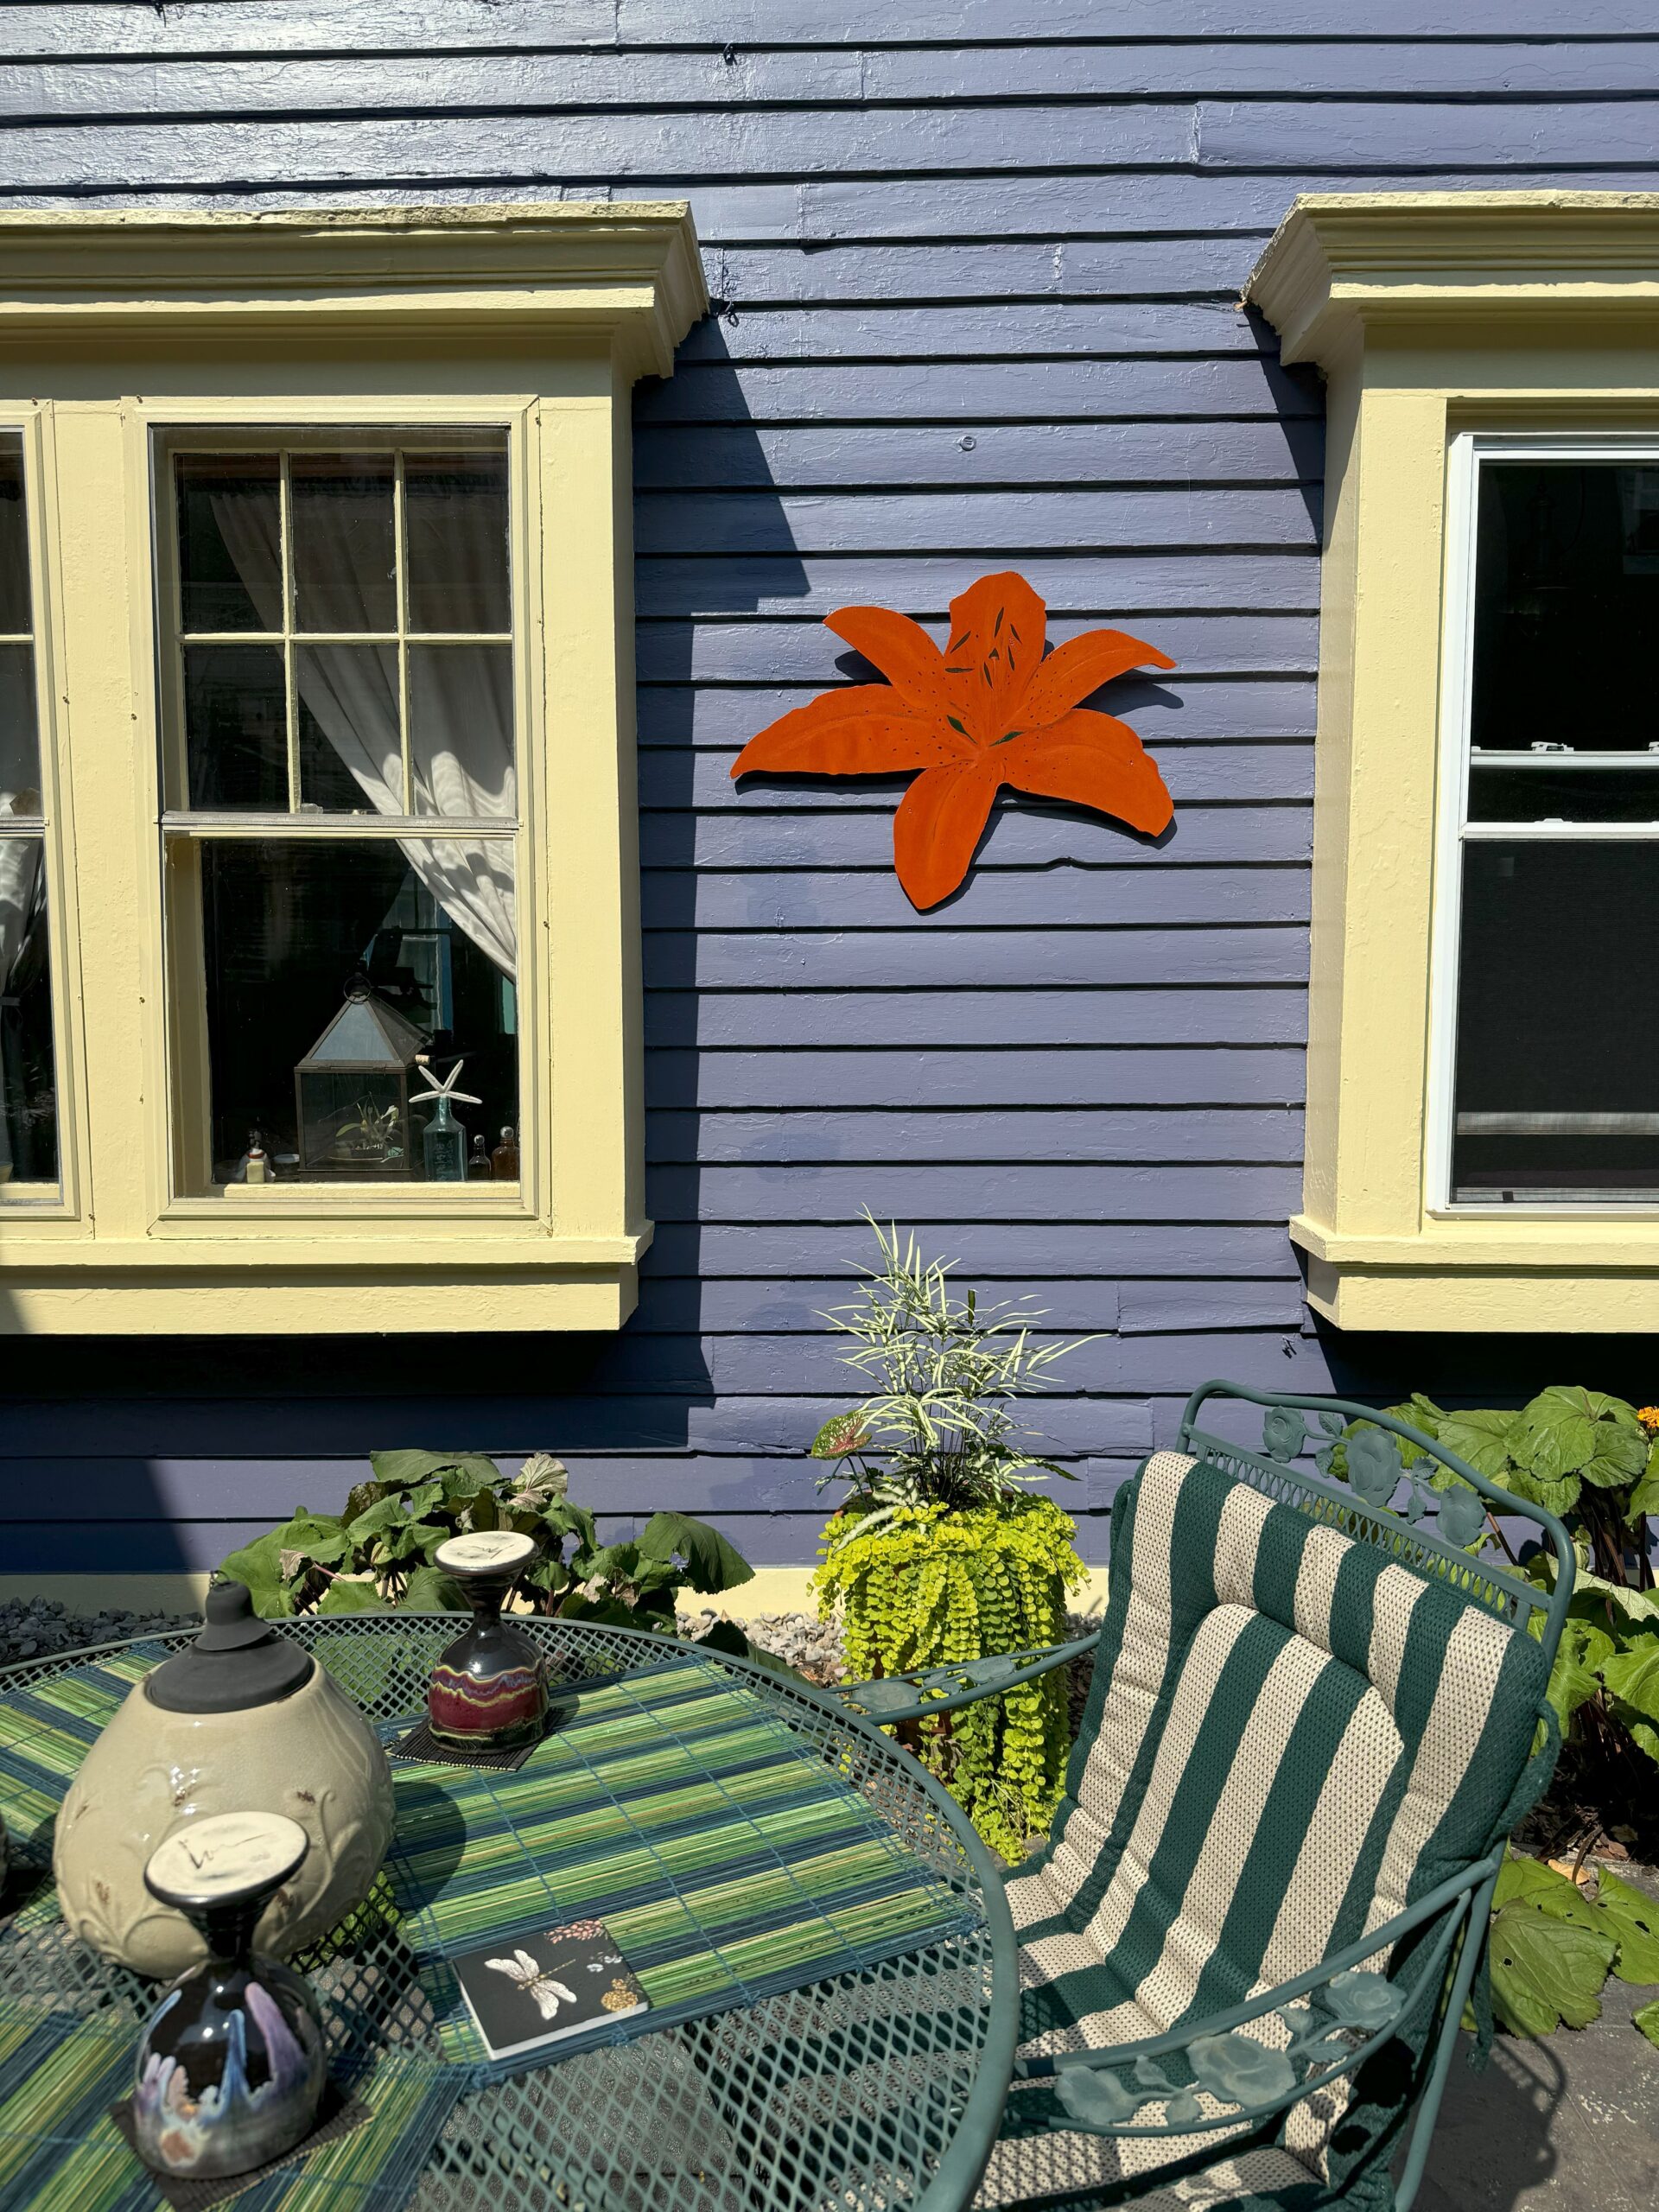
While the finished sign at the cabin features rustic stencil lettering, I wanted to go a step further and paint a colorful image for use in the garden here in Buffalo. It had become evident to me in the past few years that the garden needed more art. I had a few pieces, which are quite small, mostly paintings and some metalwork, some of which deteriorated over time. We also have a broken concrete sculpture theme that is quirky and fun, but it was time to add a larger painted piece.
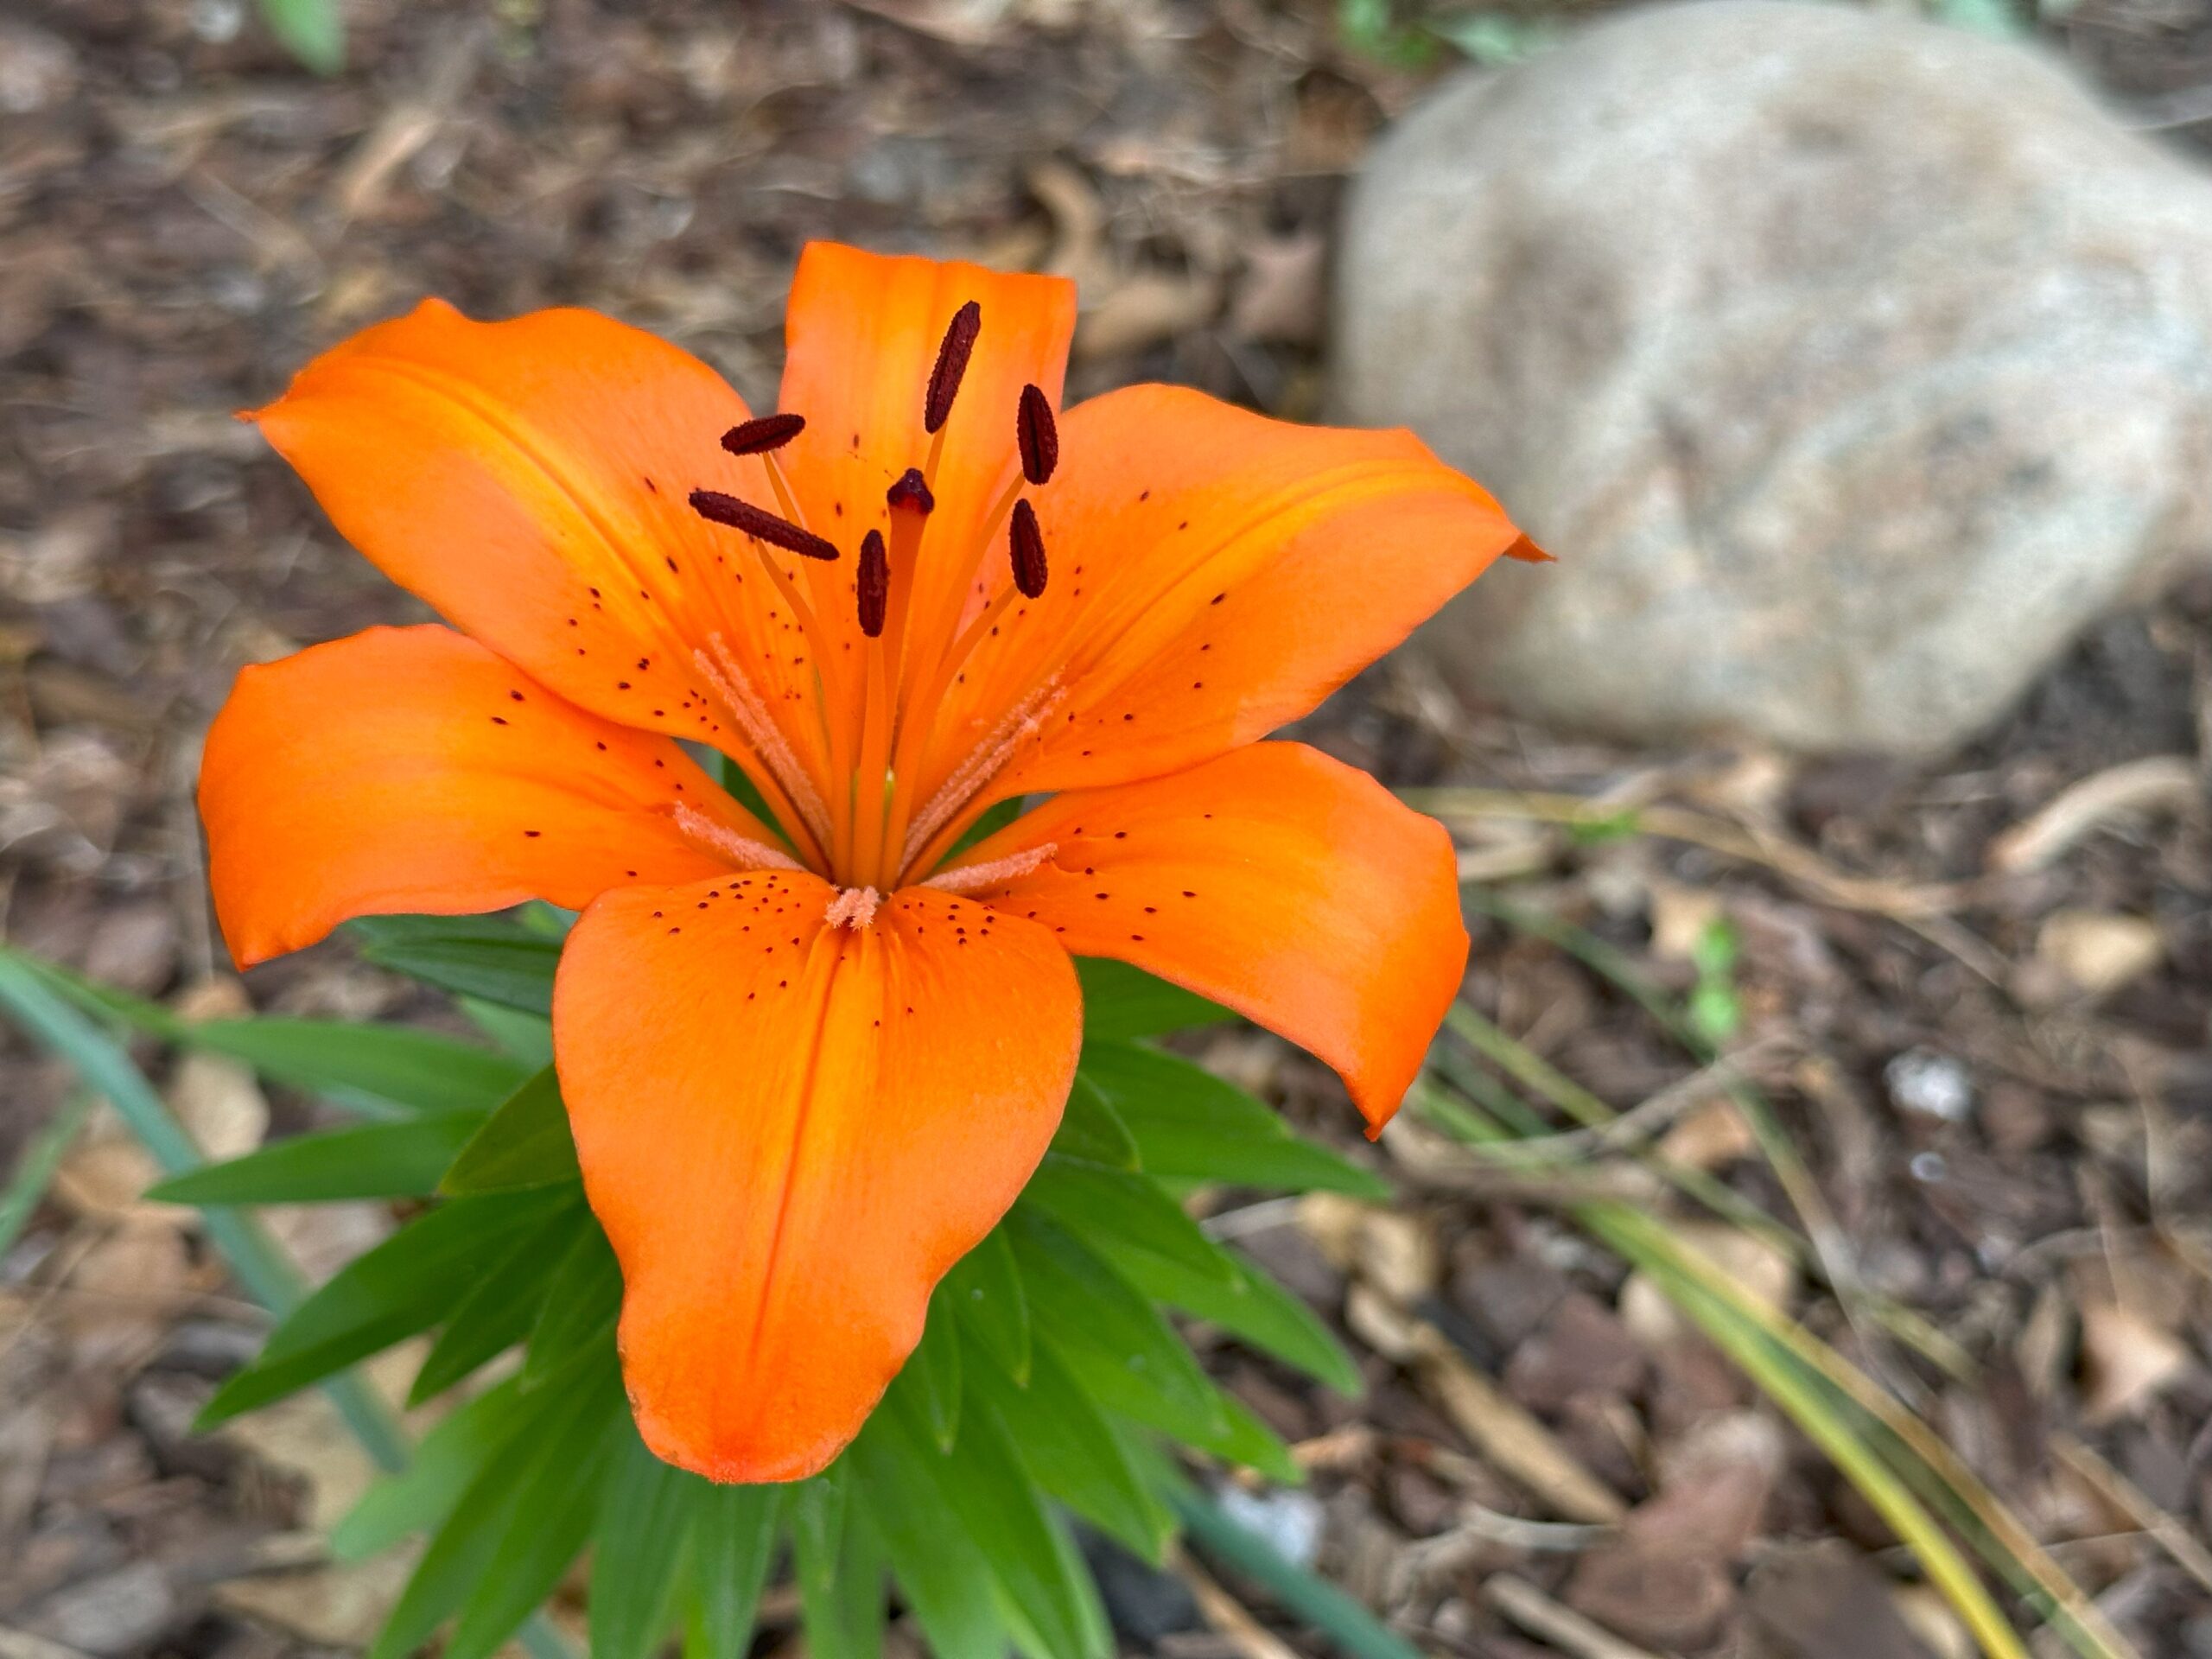
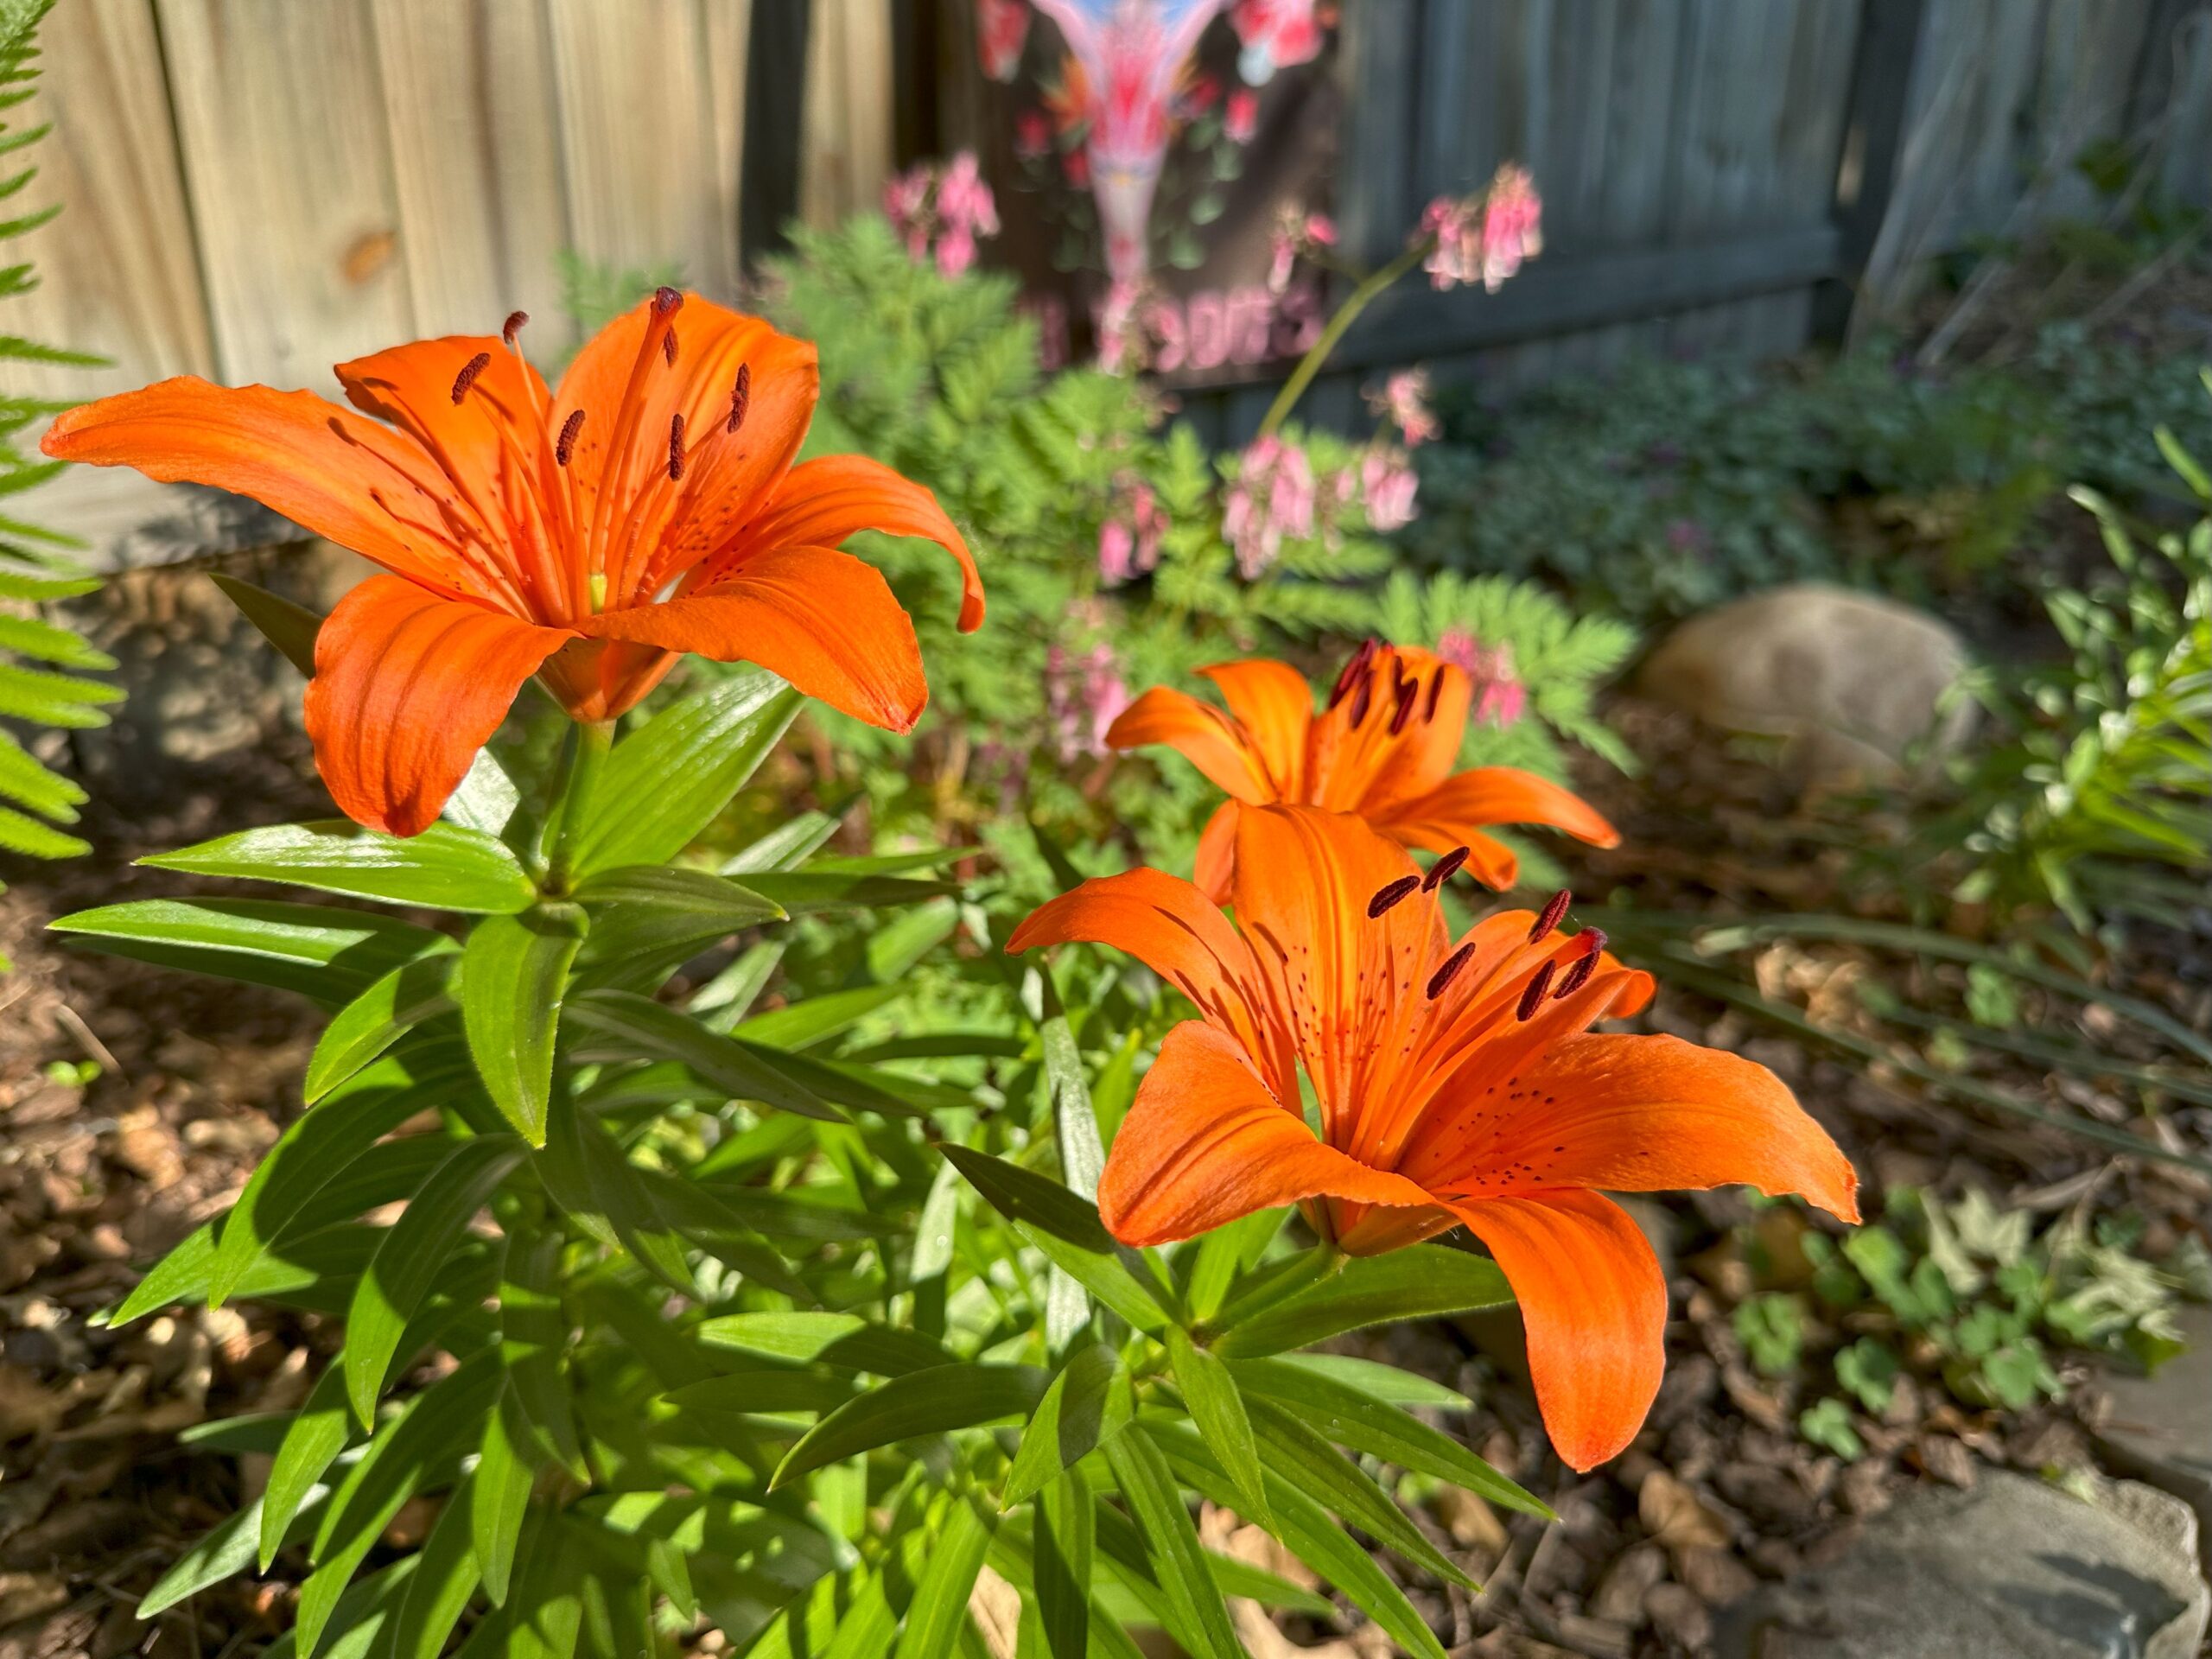
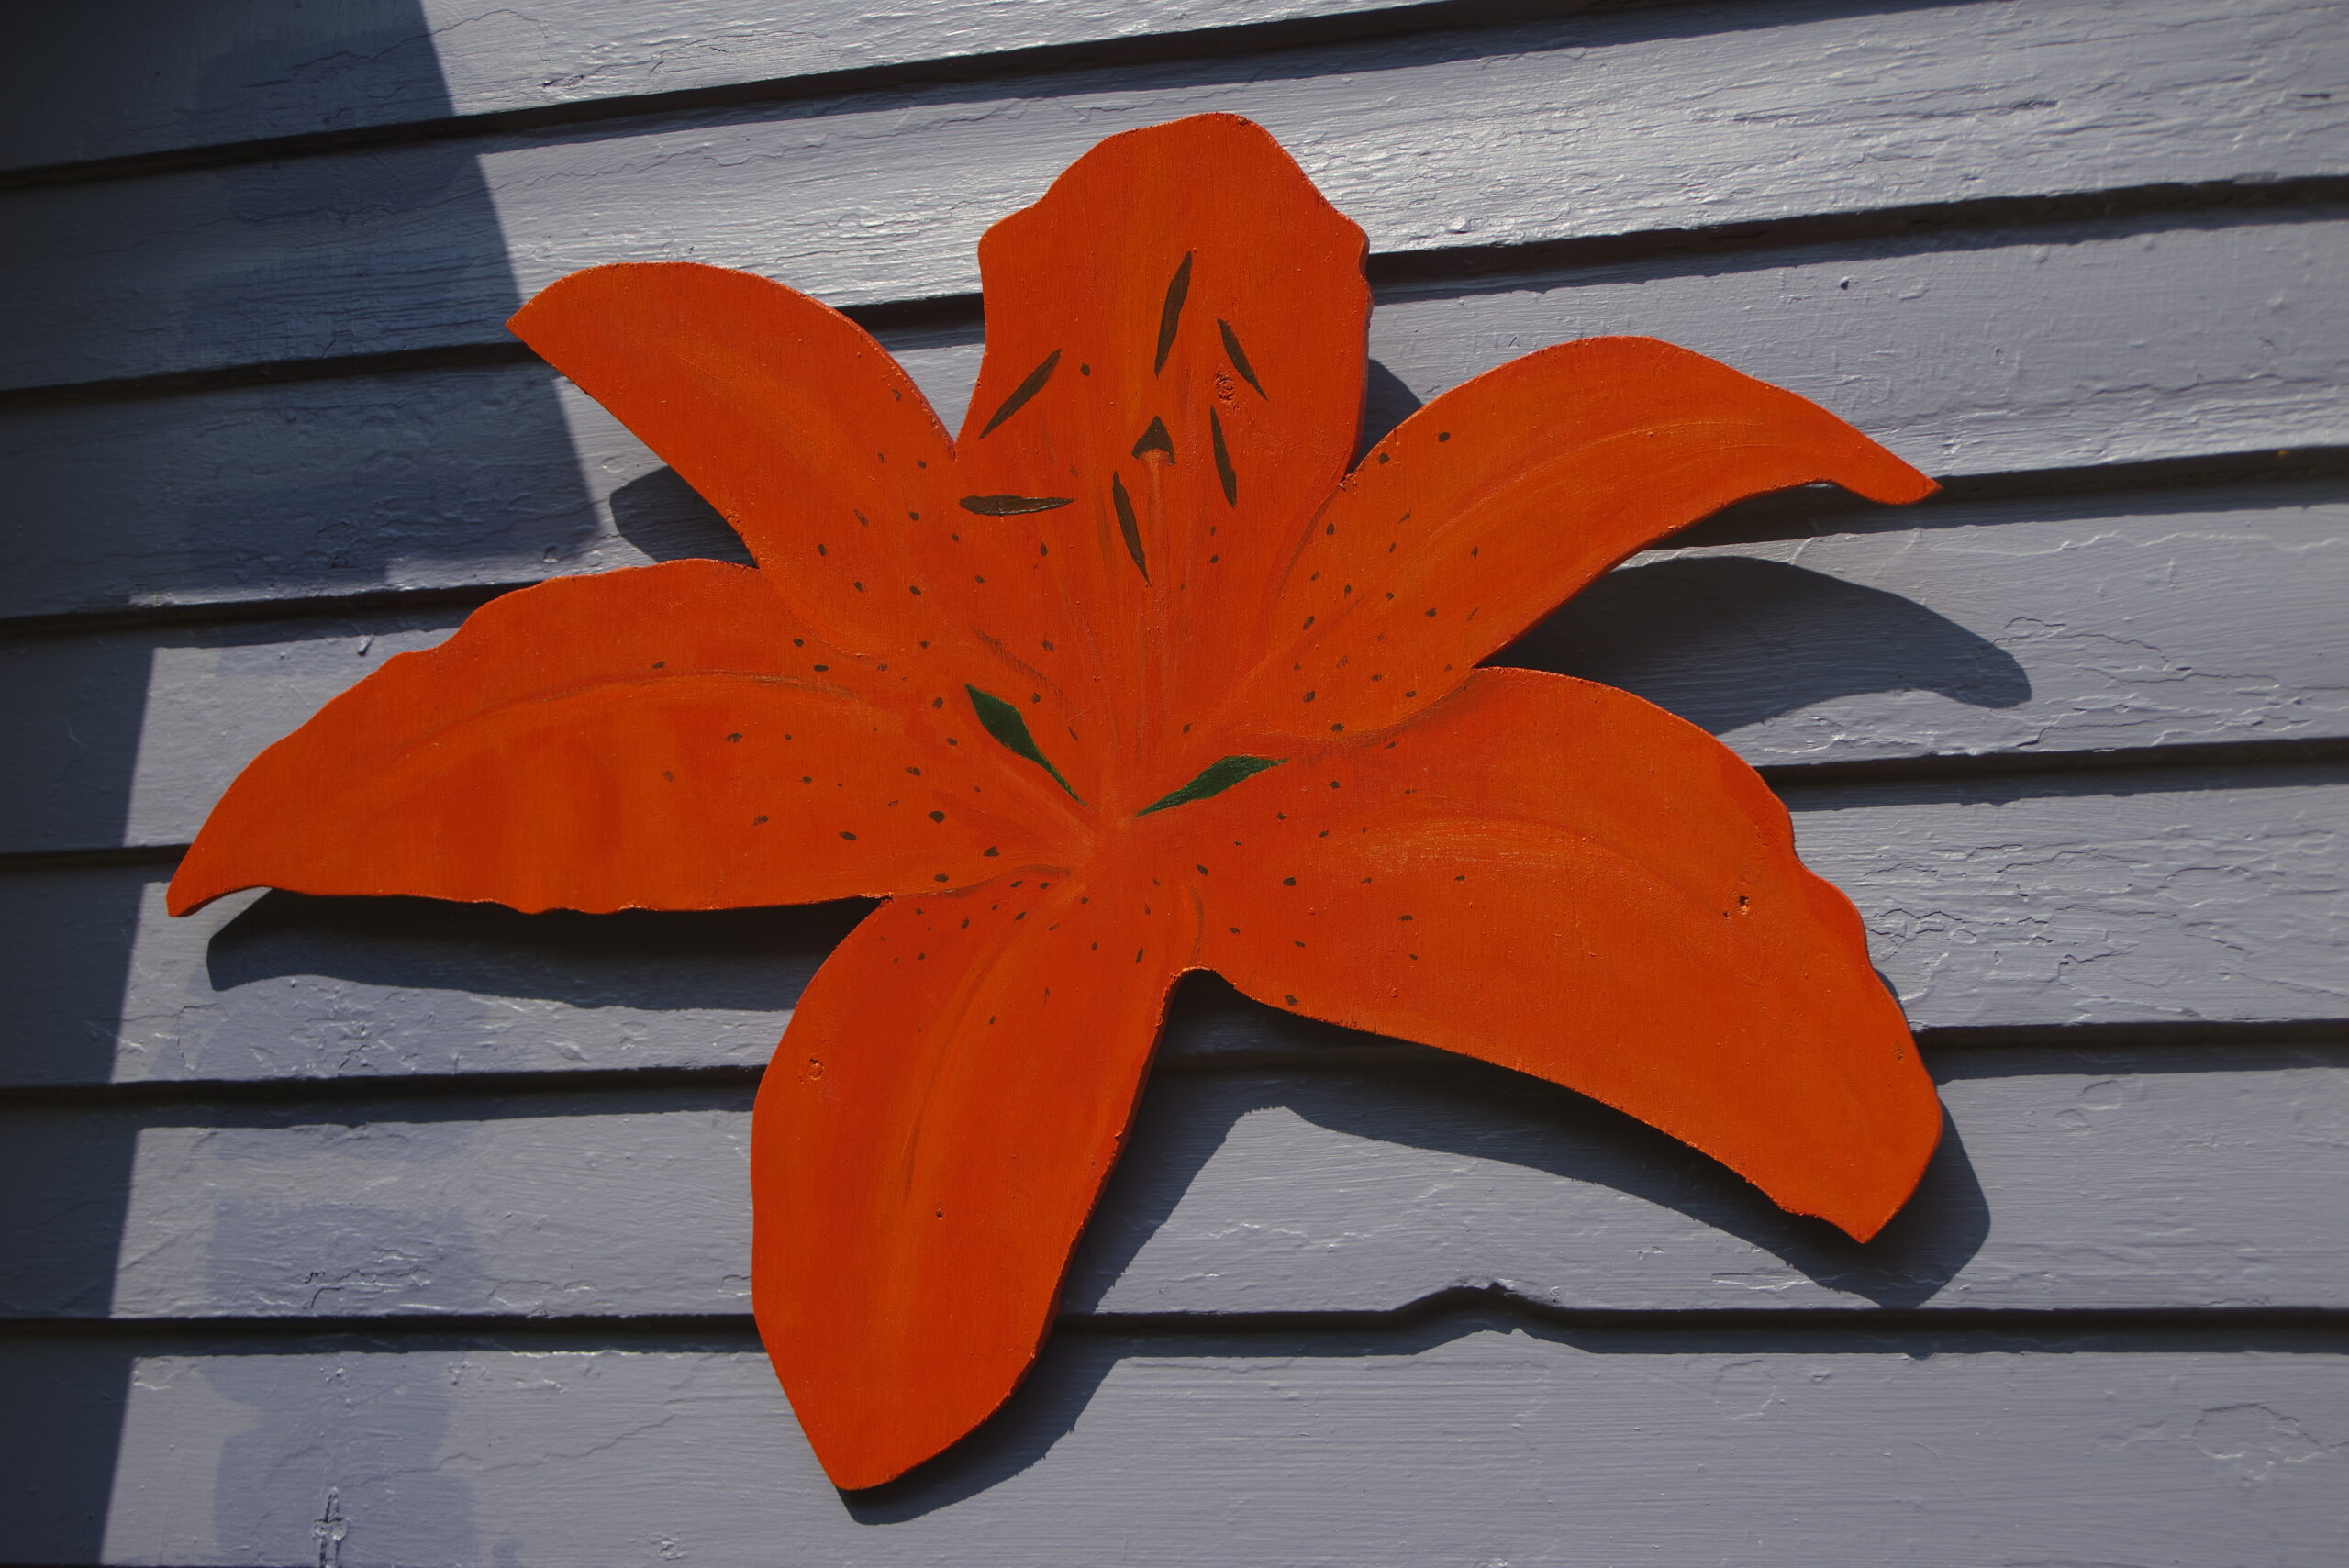
We grabbed some leftover plywood and decided to tackle a more irregular shape – a Tiger Lily. It’s an eye-catching flower with vibrant orange petals and distinctive black spots, a favorite for both Jared and me. Jared projected, traced, and cut the flower while I painted and finished the piece. Again, we used a projector to trace its outline onto the plywood and then cut it out with a handheld jigsaw. For those interested in trying something similar, start with tracing a picture from a photo, which could also yield great results. It’s helpful to add some guiding lines or a grid to the photo before you start cutting, so the image is mapped out for painting.

Painting the flower was the next step. Initially, Jared tried using wood stain in an orange hue, but it wasn’t as vibrant as I wanted. So, I switched to acrylic paints, mixing orange and yellow to get the right shade while using a gloss medium to aid flow and blending. Painting on plywood was a challenge due to its texture, but after applying several layers, the colors really started to pop. If you are using plywood or another surface that is slightly rough, I recommend applying a smooth gesso layer to the piece. You can also experiment with other types of panels for a more refined surface. To protect the painted wood from weather damage, I applied several coats of clear spray paint.
Over time, this piece will deteriorate, so I plan to do touch-ups yearly and keep it sealed. I am considering not using acrylic in future outdoor work and will likely switch to an oil base for some pieces, but the upkeep will still be important. It’s helpful to be okay with your work returning to the earth someday, which has prompted me to also consider my materials from an ecological perspective and I hope to share more about that in another post.
Adding some screw-eyes and wire to the back of the panel finished off the project, and it turned out to be a great success. I’m really happy with how the painting added a unique and personal touch to our garden. It’s inspired me to think of more creative projects to try in the future. This summer, I plan to add at least two other large floral pieces, as well as some photography.